How to Clean a Chandelier the Right Way

Looking up at the chandelier in the centre of your living room, you can’t help but notice that it isn’t sparkling as much as it used to. Determined to make it as bright and eye-catching as it was the day you bought it, you pick up your phone and search for tips on how to clean a chandelier the right way.
Whether you’re looking to keep on top of dust or to give your statement lighting piece a deeper clean, knowing how to clean your chandelier correctly is essential to restore it to its former glory without causing any damage.
Keep your chandelier looking beautiful with these top tips for how to clean a chandelier the right way.
How often should you clean your chandelier?
You should dust your chandelier every week or two to prevent dust and dirt from building up. Use an extendable feather duster to gently wipe over the surfaces of the chandelier, bearing in mind that these fixtures are more fragile than most. For any difficult to get to nooks and crannies, you might want to use a soft-bristled paintbrush to make sure no dust is missed.
For more stubborn dirt, you will need to give your chandelier a deeper clean. Once or twice a year should suffice, although you may need to clean it more regularly if it’s located in a particularly active area, such as the kitchen or entrance hall.
What do you need to clean a chandelier?
To clean your chandelier, you will need:
- Clean microfibre cloths
- Cotton gloves (for handling crystals and bulbs)
- A mild glass cleaner
- A bowl of warm water
- A thick cloth
- A clean, dry towel
- Pliers or screwdrivers to undo any fixings
How to clean a chandelier without taking it down
If the build-up of dirt isn’t too bad, you can clean your chandelier without taking it down from the ceiling or disassembling it.
Step 1: Remove bulbs
Wearing the gloves, carefully remove the light bulbs, setting them aside on a table or surface where they won’t roll off.
Step 2: Carefully clean with solution
Dip the microfibre cloth into the cleaning solution. If you’re using a cleaning spray, apply it to the cloth rather than directly onto the chandelier.
Gently work the cleaner around each part of the ceiling light, making sure to cover every surface. Reposition your ladder if necessary, rather than manoeuvring the chandelier itself as this could cause damage.
Note: Make sure to use the right cleaner for metal, painted, or antique frames and fittings to avoid causing damage or discolouration.
Step 3: Polish
Use a new, dry cloth to polish each part of the chandelier. This will help to remove any residue left behind by the cleaning solution and help to prevent any streaks or watermarks.
Step 4: Reattach bulbs
Gently dust the light bulbs with a soft, dry cloth, then reattach them to the chandelier. This is a good opportunity to replace any damaged or discoloured bulbs with more decorative light bulbs that will add an extra touch of luxury to your chandelier.
How to take a chandelier down for cleaning
If your chandelier needs a more thorough cleaning to get rid of accumulated dirt or stubborn marks, you will need to remove all parts of the chandelier from the ceiling.
Although chandeliers are usually made up of several different components, it’s actually fairly easy to remove and clean them if you follow these steps.
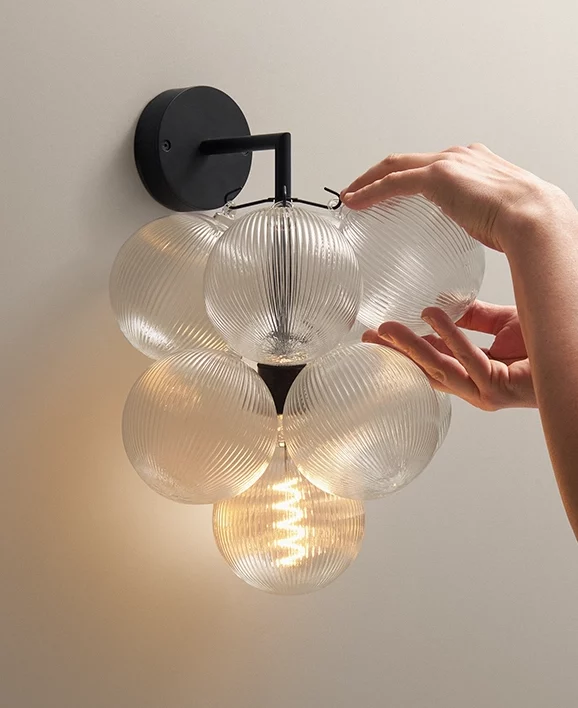
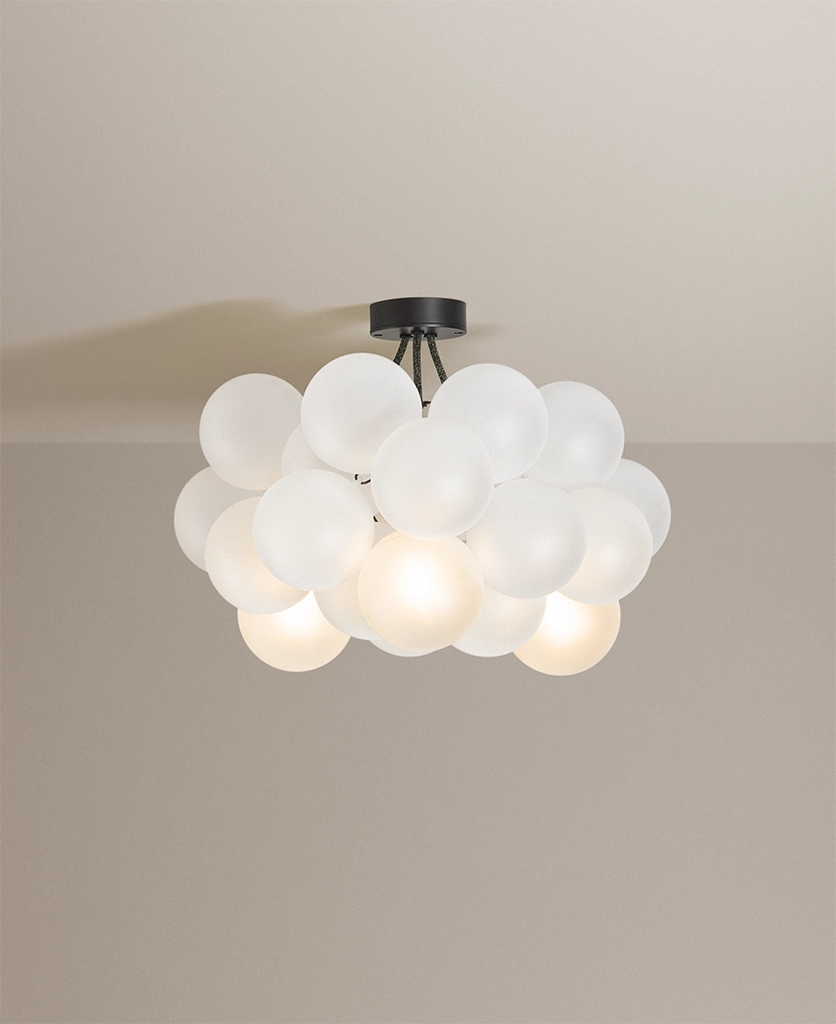
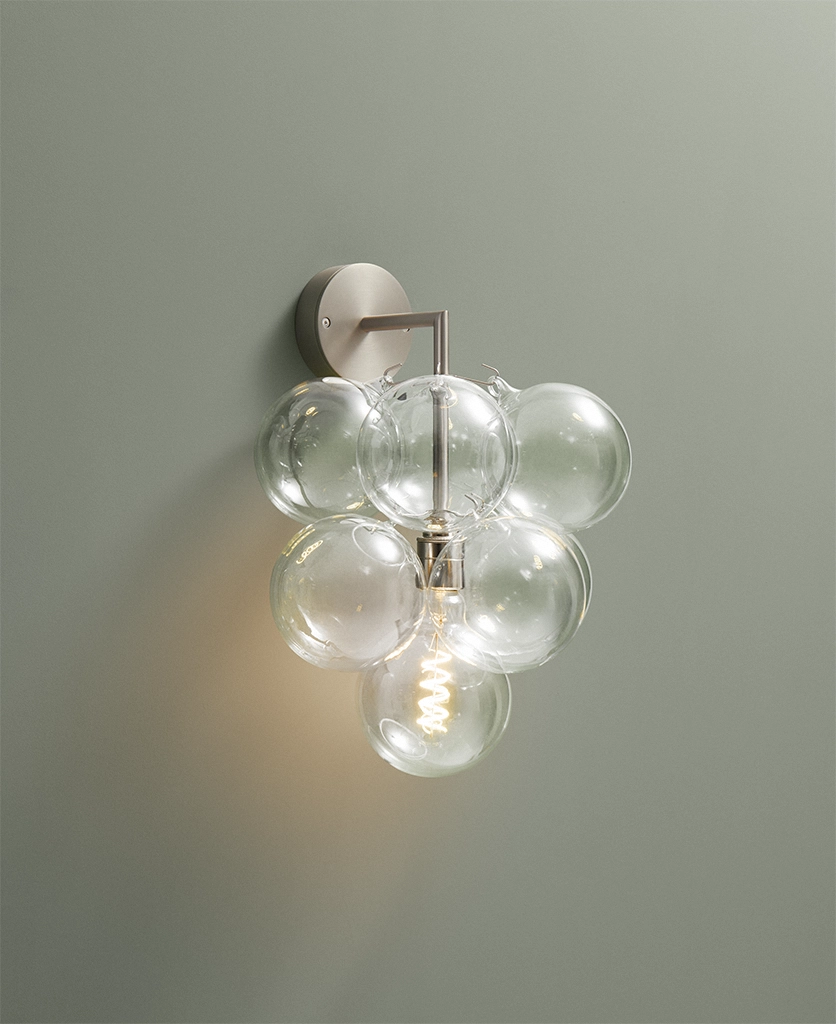
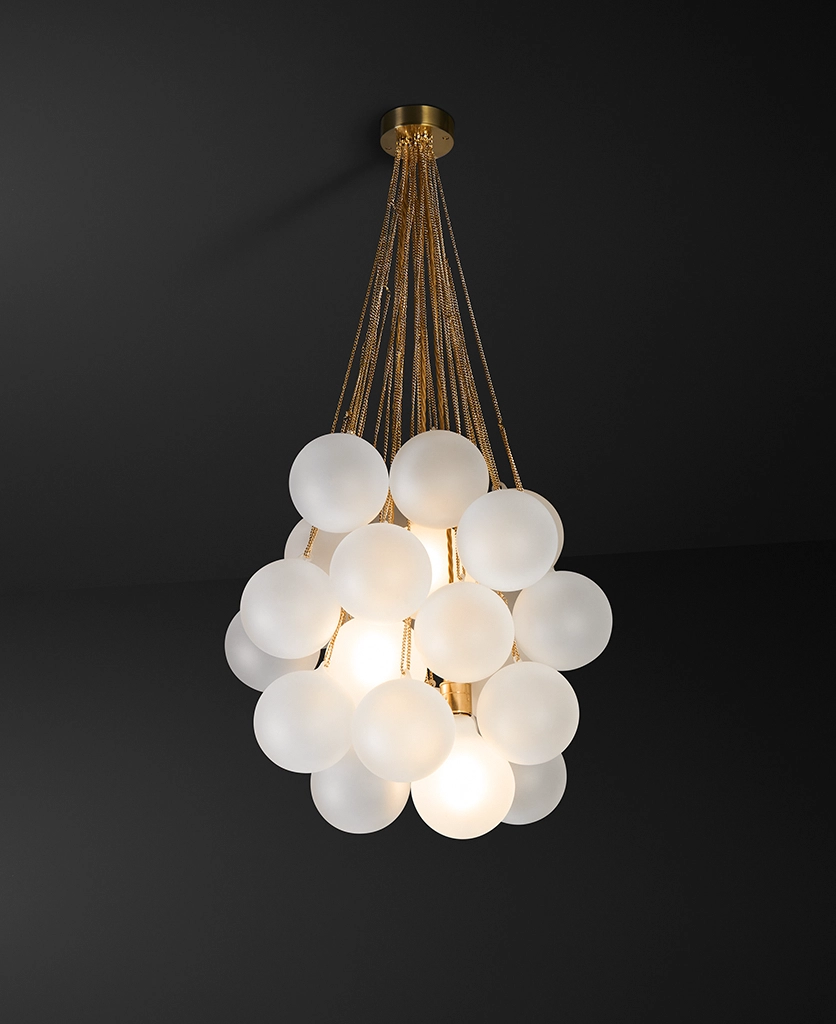
Style tip: Looking for a contemporary chandelier that doesn’t take forever to clean? These bestselling bubble chandeliers are perfect for enhancing any interior, and you only need to wipe down the bulbs to keep them in pristine condition.
Step 1: Remove chandelier parts
Before removing any bulbs, crystals, pendants, or any other light fitting parts from your chandelier, take some photos to remind you where everything goes – this will make reassembly much easier.
Then, remove the bulbs and each component from the fitting and set them aside on a flat surface where they won’t roll off. You may need a screwdriver to remove some parts, so make sure you have one to hand just in case.
Step 2: Clean with water and mild detergent
Create a cleaning solution by mixing a mild detergent with lukewarm water. The soap you use to hand-wash your dishes is a good example of a mild detergent.
Place each component (excluding the bulbs and any electrical parts) into the cleaning solution, one at a time to avoid causing any damage. Gently rub each part individually with a clean, lint-free cloth. You may need to replace the water every so often if it becomes dirty.
Step 3: Rinse and dry
Rinse each part with cold water and dry immediately with a fresh cloth. Then, set the parts aside on a thick, clean towel.
Step 4: Reassembly
Use a dry cloth and an appropriate cleaner to wipe down any components that couldn’t be removed for cleaning, such as the frame, hooks, cables, and fixtures.
Wipe down your bulbs with a cleaning solution and take this opportunity to replace any bulbs that are faulty or discoloured.
Once everything is completely dry, reassemble the chandelier piece by piece, referring to the photos you took before dismantling.
Show us how you’ve styled your chandelier
At Dowsing & Reynolds, we’re passionate about stylish interiors. We’d love to see how you’ve styled your chandelier to elevate your home and show off your personality – just tag us on Instagram @dowsingandreynolds.

